For individual items and smaller changes, it is convenient to work directly in the Finfo One interface. This is also where you upload your import template and any associated assets.
Media Library
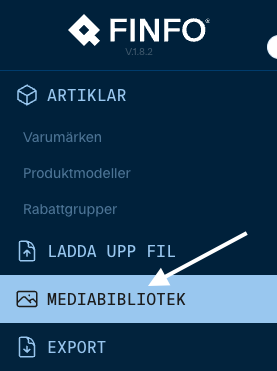
You will find the Media Library in the menu on the left once you have logged in.
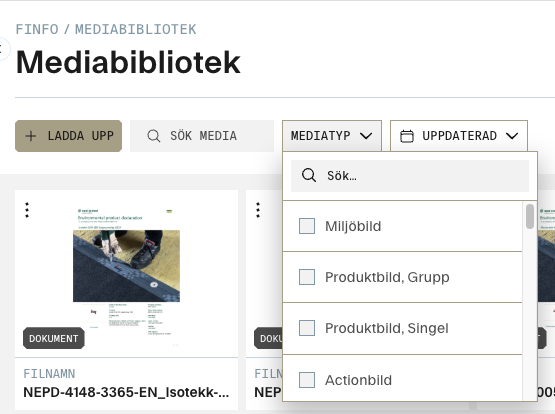
Here you can upload new assets (for example images and documents) and search for your assets by name, type or date.
Upload
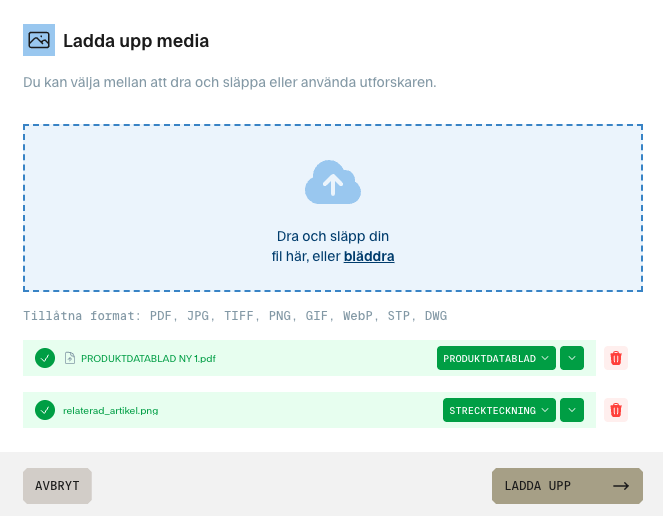
Drag and drop your assets directly into the upload area, or browse for them. You can upload several assets at once, and they do not need to be of the same type. In the example below, we have uploaded a product data sheet and an image, and then selected the correct type for each. Then click UPLOAD. Your assets are now available in the Media Library, but they are not yet linked to any item.
Create relations
The process is the same whether you are working with main images, images, documents, energy labels or 3D models. Go to the item that the asset should be linked to. Click the MEDIA tab and then, for example, the IMAGES tab.
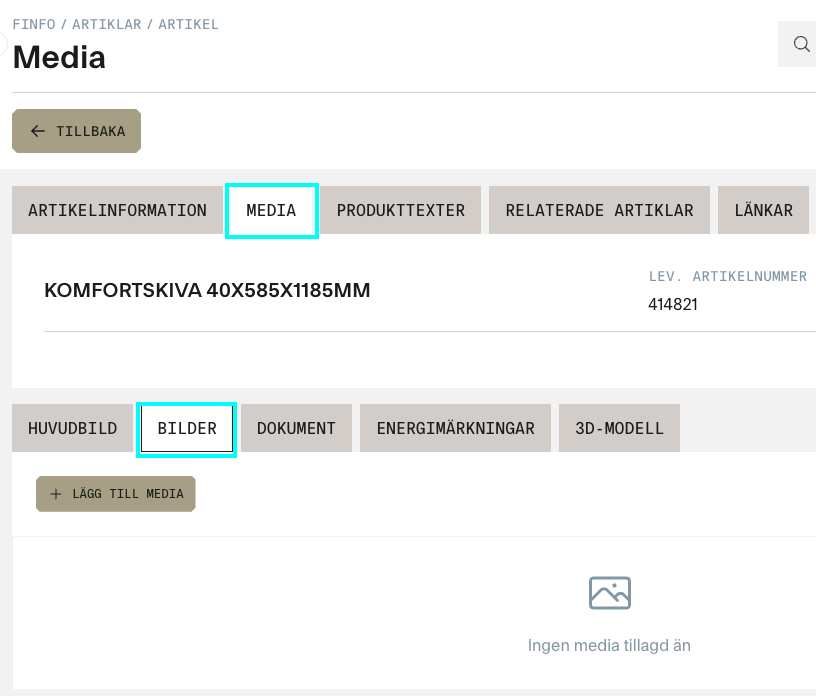
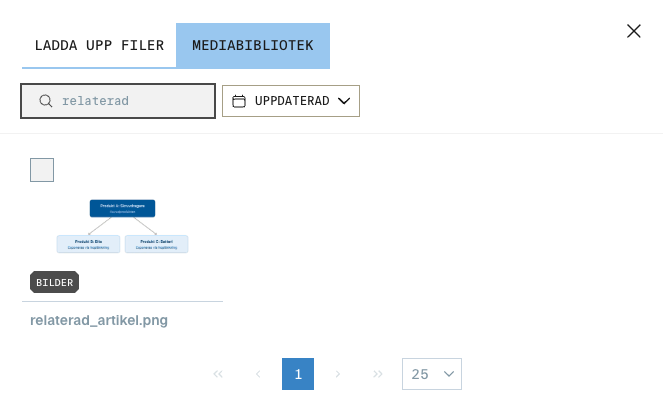
Click ADD MEDIA to select your image from the Media Library. You can also upload your assets directly on the item instead of going through the Media Library.
In phase 2 of the rollout, you will be able to link assets to your items directly from the Media Library.
Your image is now linked to your item. There is no need to publish or click a save button, as the upload takes effect immediately. If you have several images of the same type, you can easily change their order by dragging the blue boxes marked #1, 2, 3.
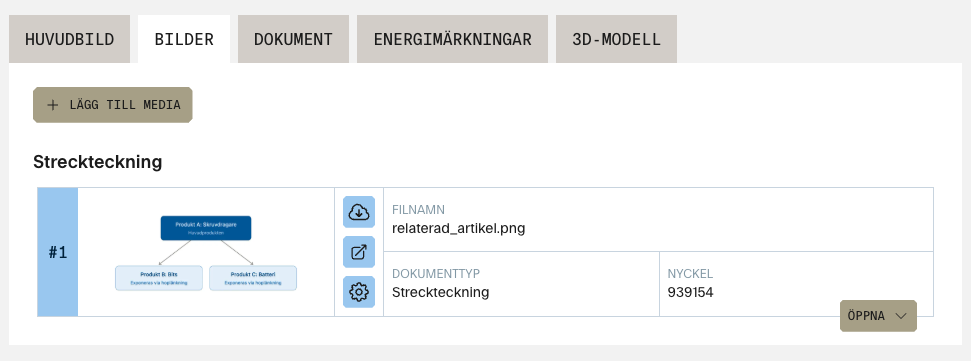
Click OPEN to see more information about the image, such as tags and alt text. Here you can also UNLINK the asset from your item, download or open it, and see what other RELATIONS it has.
For product texts, related items and external links, you work in separate tabs to the right of MEDIA.
Product texts
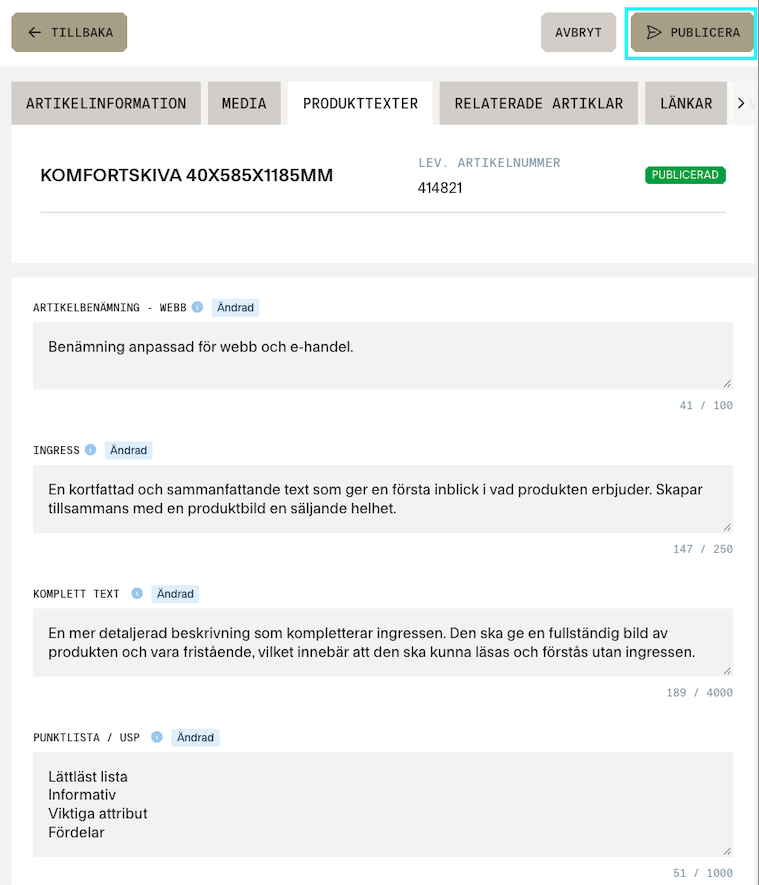
Write your texts directly under each heading. Note that you must click PUBLISH to save your texts, as this is not done automatically.
Related items
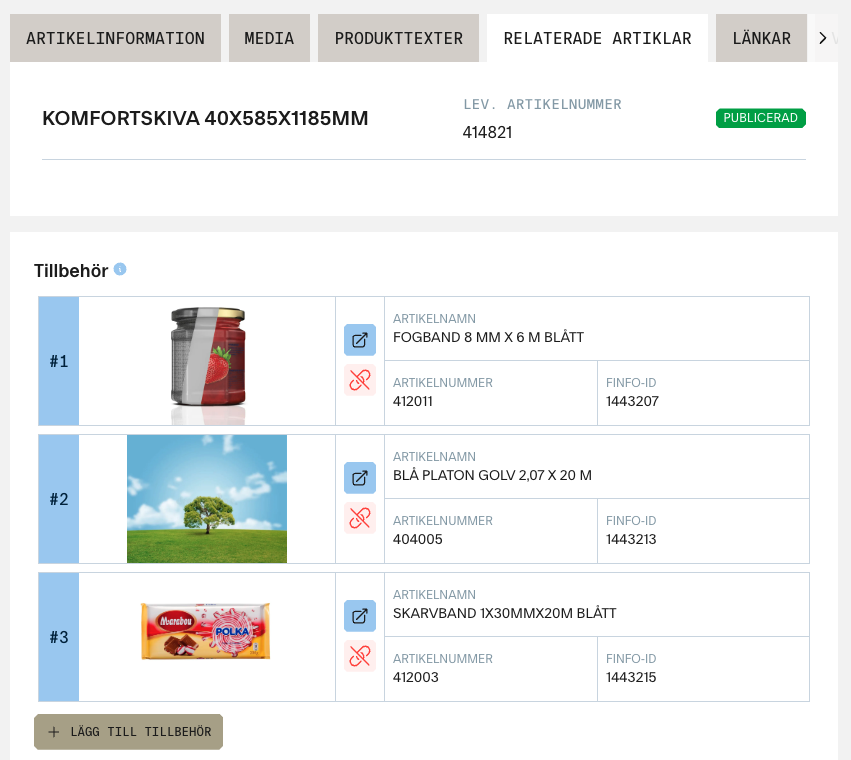
In the Related items tab, you can add Accessories and Spare parts. For example, click ADD ACCESSORY to open a search box where you can choose from your items. Select the relevant items and click SELECT.
From this view, you can then go to the selected accessory or unlink it. You can easily change the order of your accessories by dragging the blue boxes marked #1, 2, 3.
Links
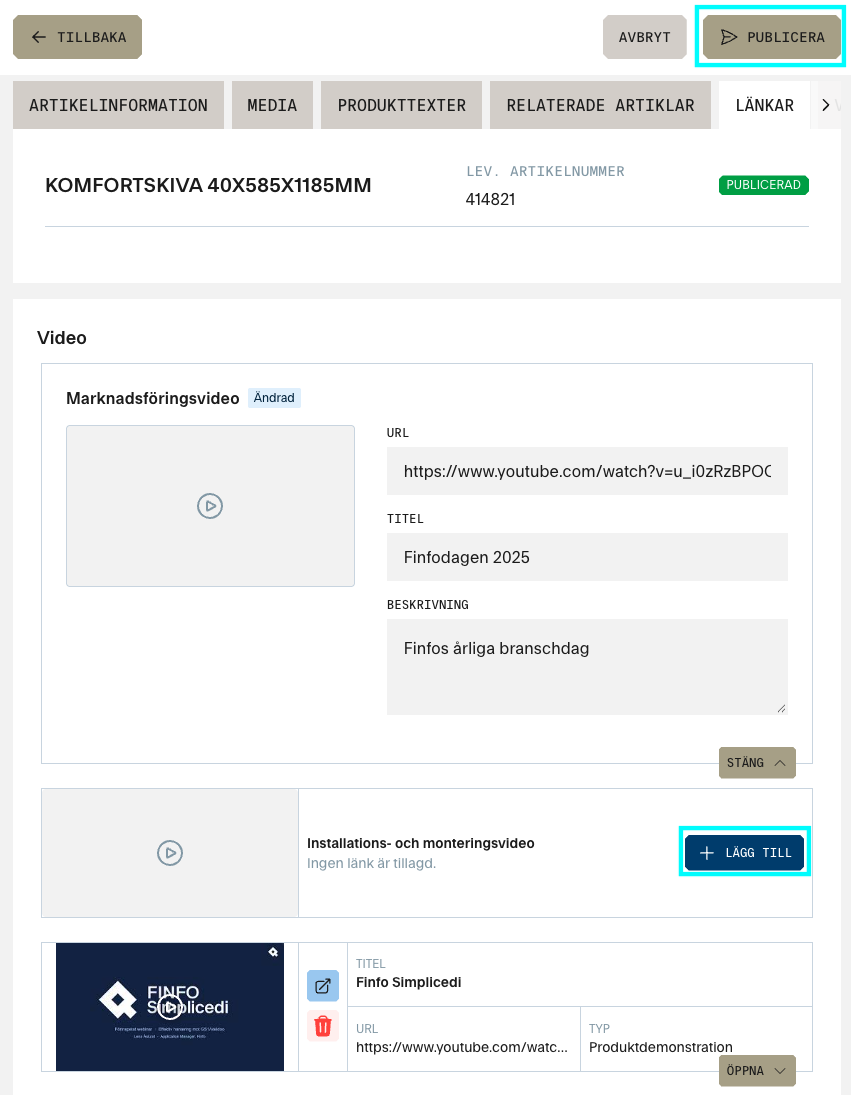
In the Links tab, you can add external links that are relevant to your item. Click ADD to open a box where you can enter the URL and add a title and description for your link. When you are done, click PUBLISH to save your changes.